Athena heaters have loads of amazing features that can be controlled from your phone, but before you can do this you’ll need to pair it to your Wi-Fi. This simple guide will show you how.
Getting Started
Firstly, it’s important to know that not all our Athena models are Wi-Fi compatible. If your heater didn’t come with a remote and doesn’t feature an LED screen, then it’s unfortunately not Wi-Fi enabled.
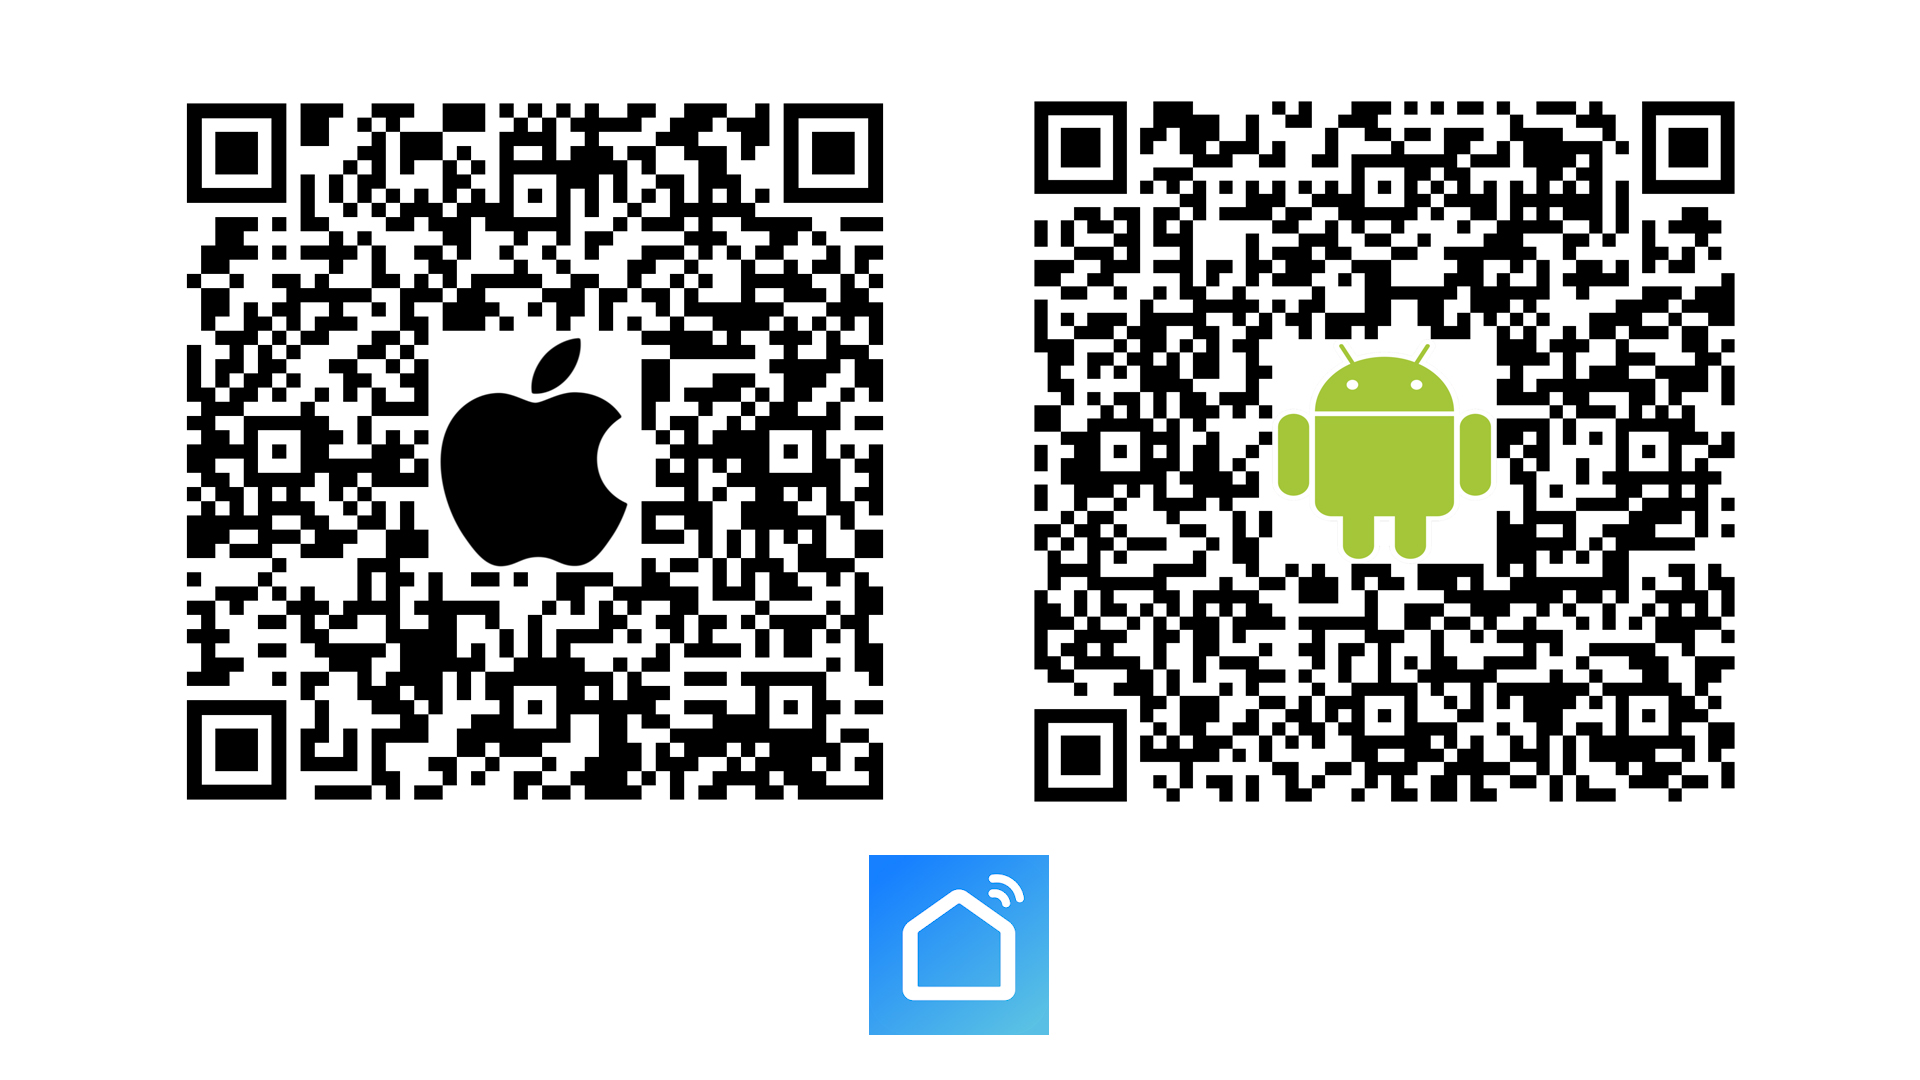
If you do have a Wi-Fi model, you can download the Smart Life app. You can find it on the Google Play store as well as the App store. Alternatively, scan one of the QR codes below.

Open up the app and create an account. Keep your password in a secure place.
Adding Your Device
With your account set up and ready, open up the Smart Life app and select the ‘Add Device’ button in the middle of your screen. You can also tap the ‘+’ icon in the top right of the screen, followed by ‘Add Device’.
From there, select ‘Small home appliances and then ‘Heater Wi-Fi’ on the top row.
Your app will then prompt you to enter your Wi-Fi password, but before doing this, you’ll need to activate pairing mode.
Putting Athena Into Pairing Mode
With your heater powered on, press the Set button followed by Down on your remote. The Wi-Fi symbol will flash on the LED display.
Now back on the app, you can enter your Wi-Fi password. When prompted, tell the app that the heater is blinking, and then that it is blinking quickly. The pairing process will now begin.
Your heater should now appear in the centre of your screen. You can hit the pen icon to rename it something memorable, or hit the done button to move on.
Contact Us
If you have any more questions about this process or about IR heating in general, just give us a call on 0116 321 4124, or send an email to cs@suryaheating.co.uk. You can also follow us on Facebook, Twitter and Instagram to keep up to date with all our latest news and offers.


