Connecting your Zenos Bar Heater to your Wi-Fi network unlocks loads of remote-control options that you can activate from anywhere in the world. It’s really easy to set up too!
Before You Start
First, you need to make sure your bar heater is Wi-Fi compatible. If you see a single red LED on the case, then this is a standard model and therefore cannot be connected to your Wi-Fi. If it has an LCD display, then you’re ready to go.
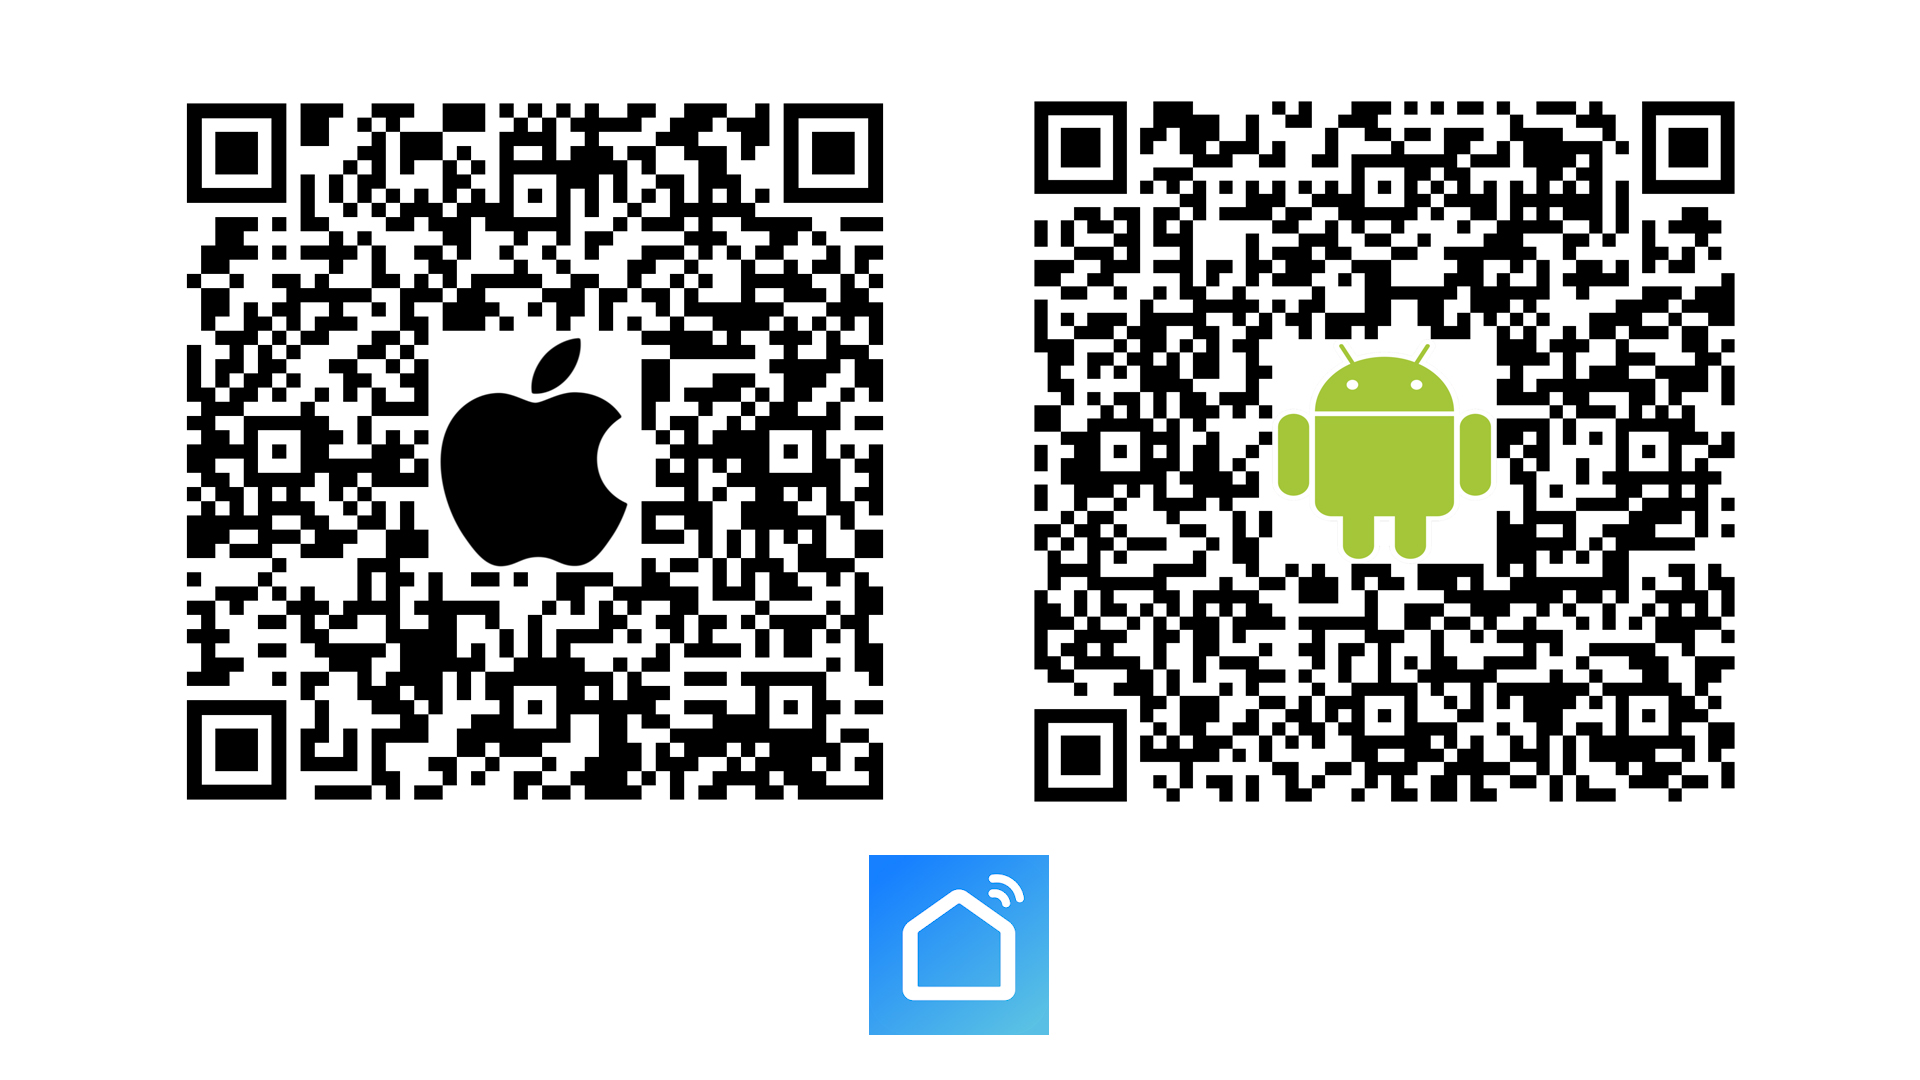
You’ll also want to download the Smart Home app for your phone. You can search for ‘Smart Life’ on your phone’s app store, or scan one of the QR codes below. Smart Life is available for Android phones and iPhones.

Open up the app and create an account. Keep your password in a secure place.
#1 The Smart Life App
Once your account is set up, open the Smart Life App and select the ‘Add Device’ in the centre of the screen. Then, tap ‘small home appliances’ and ‘Heater Wi-Fi’ from there.
You should see a prompt to connect to your Wi-Fi, but let’s come back to that in a moment.
#2 Activate Pairing Mode
Turn your Zenos heater on, then press the ‘Set’ and down buttons on your remote. The Wi-Fi Icon should start flashing on the LED screen on your heater.
#3 Enter Your Wi-Fi Password
Enter your Wi-Fi password, then tap the ‘confirm the indicator is blinking’ button. Then select ‘blink quickly’. The app will then start pairing with your bar heater, which shouldn’t take more than 30 seconds.
#4 Finishing Up
You should now see your Zenos IR Bar Heater in your list of devices! Tap the pen icon and you can give it a name to make it easier to track. Once you hit the done button, your heater is online and ready to go.
If you'd like to know anything else about our Zenos IR Bar Heaters, please give us a call on 0116 321 4124, or send us an email to cs@suryaheating.co.uk.
Keep up to date with everything Surya Heating on social media - follow our Facebook, Twitter and Instagram pages!


