


It’s easy to pair your Theia Wi-Fi IR Bar Heater to your Wi-Fi network…but if you’re having any difficulty, our video guide below will walk you through each part, step by step.
#1: Before You Start
Before we get into anything, you need to make sure that your Theia Bar Heater is in fact Wi-Fi enabled. If it has a red LED indicator on the front, then unfortunately it is not Wi-Fi enabled. If it has an LCD display, then you’re good to go!
#2: Installing The Smart Life App
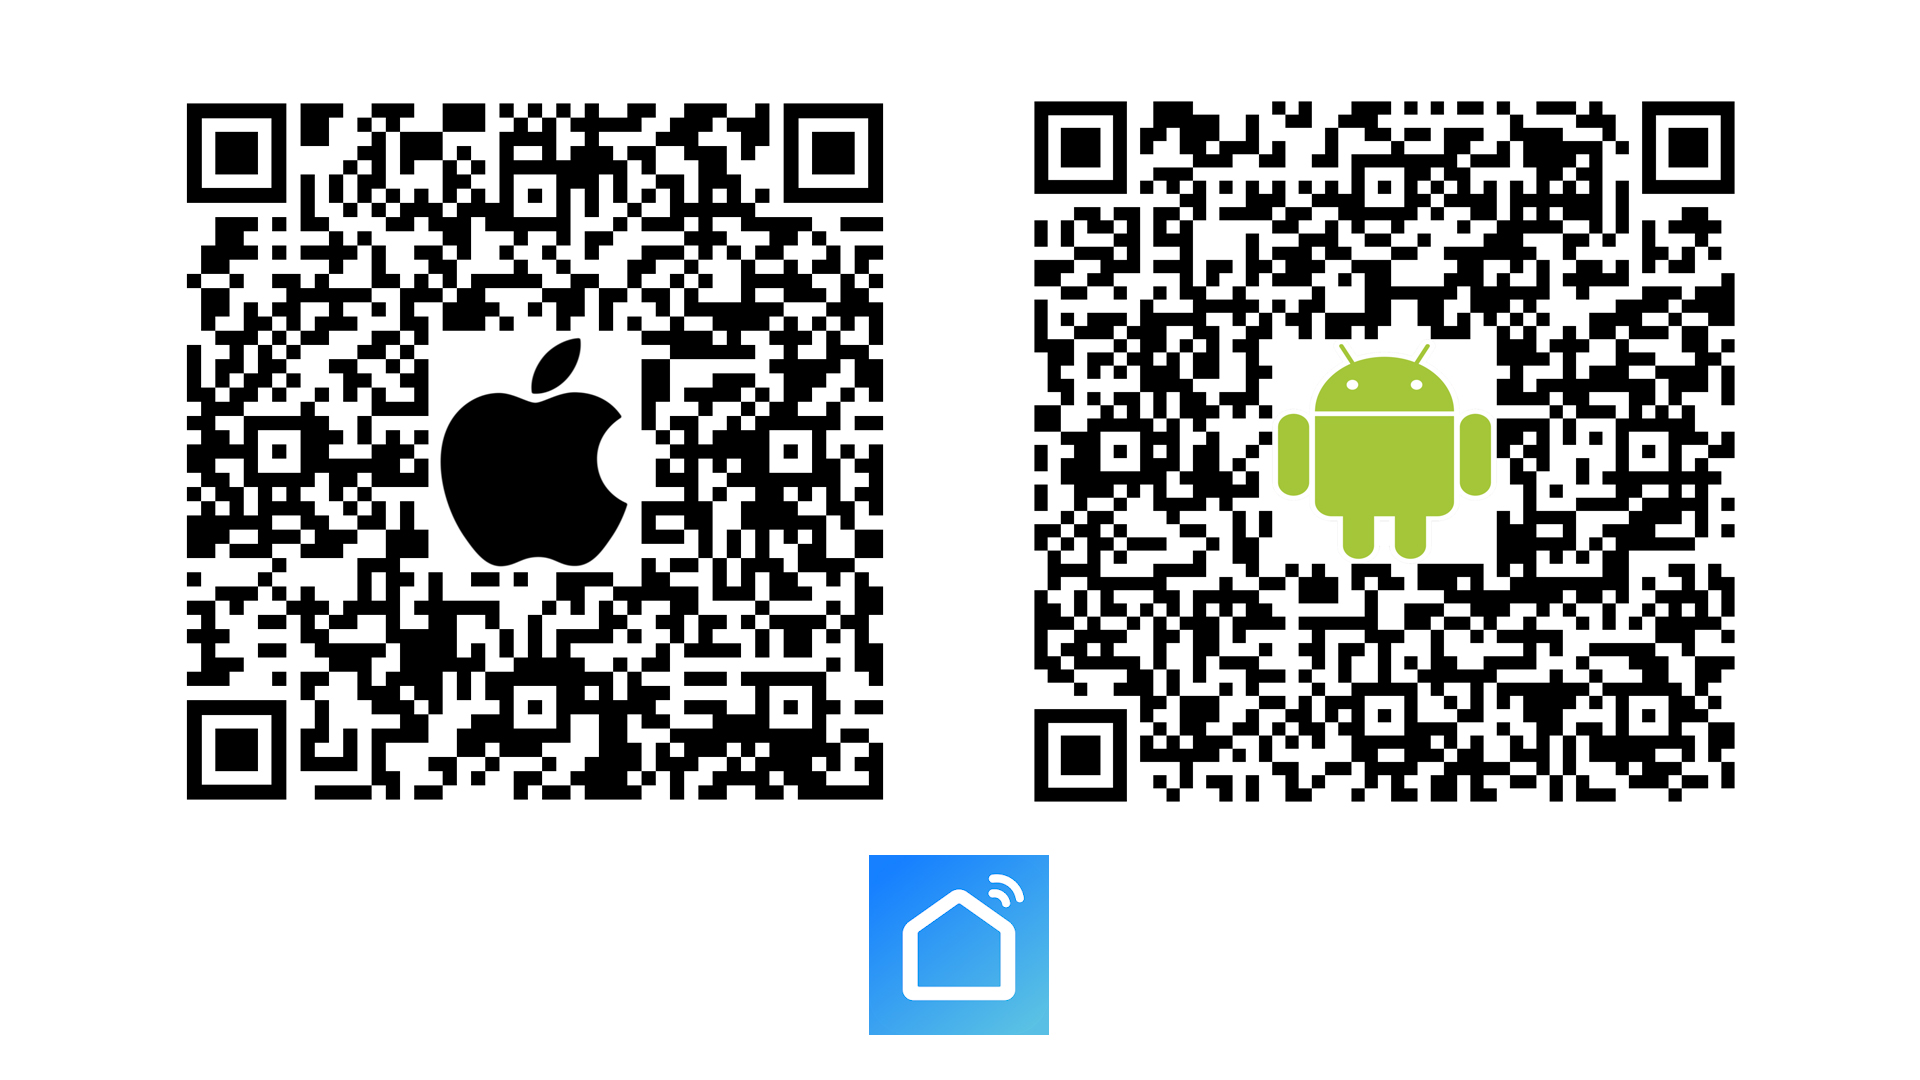
Next, if you haven’t already, you’ll want to download the Smart Life app. You can either search “Smart Life” on your device’s app store and look for the app with the blue house icon, or you can scan the QR codes below.
iPhone and iPad users can scan the code on the left, and Android users can scan the QR code on the right.
Once downloaded and installed, you can create an account. Just be sure to keep your password somewhere safe.
You’ll also want to make sure that your bluetooth is switched on, and you’re connected to a 2.4GHz Wi-Fi network, as Theia IR Bar Heaters are not compatible with 5GHz networks.
You’ll usually be able to tell what kind of network you’re connected to, as any 5G networks will usually have either “5”, “5G”, 5GHz” or something similar in the name of the network.
#3: Beginning The Pairing
Open up the Smart Life app, and hit the Plus icon in the top right corner of the screen to Add Device.
Click on Small Home Appliances on the left side of the screen, and then hit Heater (Wi-Fi) on the top row of appliances that appear.
If your Theia Bar Heater is already in pairing mode, you may see your heater appear at the top of your screen. If this is the case, you can click it and begin pairing to it straightaway. If not, just keep following these steps.
You’ll then be prompted to enter your Wi-Fi password, however, we need to ensure that our Theia IR Bar Heater is in pairing mode first.
#4: Putting Your Theia Bar Heater Into Pairing Mode
Press the Set button, followed quickly by the Down button on your remote control. After a few seconds, you’ll see the Wi-Fi icon begin to flash on your Bar Heater screen, indicating that your heater is now in pairing mode.
#5: Finishing Pairing Your Bar Heater
Enter your Wi-Fi password, and confirm any steps.
You’ll need to confirm that your heater is in pairing mode, and that the indicator is blinking quickly.
Once you’ve confirmed that, the heater will begin pairing. It shouldn’t take longer than a few moments.
Once you see the confirmation screen, the process is complete. You can hit the pen icon near the top right of your screen to rename your Bar Heater - it may be a good idea to name it based on the room it’s in, or the person who is going to be using it - but otherwise, that’s it! Your Theia IR Bar Heater is now connected to your Wi-Fi network!
Get In Touch If You Have Any Issues
If you’re having any trouble pairing your Theia Bar Heater to your Wi-Fi network, just get in touch with our customer services team who would be more than happy to help.
All you need to do is give them a call on 0116 321 4124, or send an email to cs@suryaheating.co.uk.
You can also reach out to us on our Facebook and Instagram pages too.